Lexus RX (RX 350L, RX450h) 2016-2026 Repair Manual: Disassembly
DISASSEMBLY
PROCEDURE
1. REMOVE ROOM LIGHT BRACKET
| (a) Remove the 4 nuts. |
|
(b) Disengage the clamp to remove the room light bracket.
2. REMOVE NO. 2 ROOF WIRE
| (a) Disconnect the connector. |
|
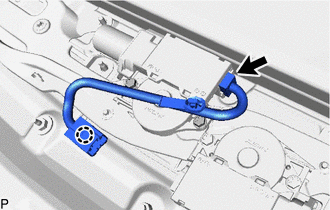
(b) Disengage the claw to remove the No. 2 roof wire.
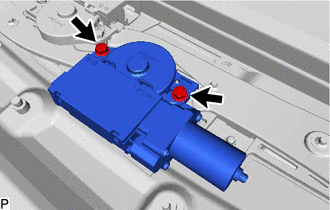
3. REMOVE SLIDING ROOF DRIVE GEAR ASSEMBLY (for Sliding Roof)
| (a) Remove the 2 bolts and sliding roof drive gear assembly. |
|
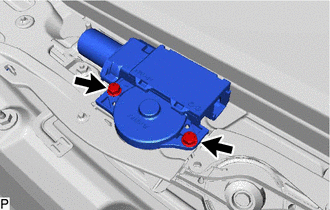
4. REMOVE SLIDING ROOF DRIVE GEAR ASSEMBLY (for Roof Sunshade)
| (a) Remove the 2 bolts and sliding roof drive gear assembly. |
|
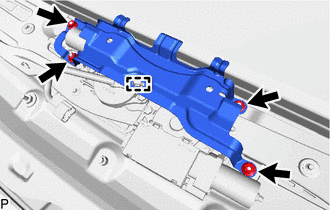
5. REMOVE SLIDE ROOF RAIL SUB-ASSEMBLY
(a) Remove the 18 nuts and slide roof rail sub-assembly.
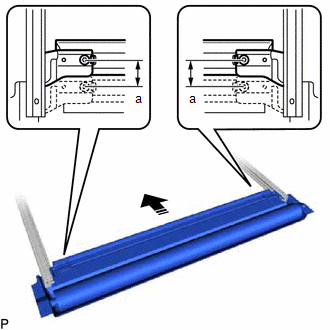
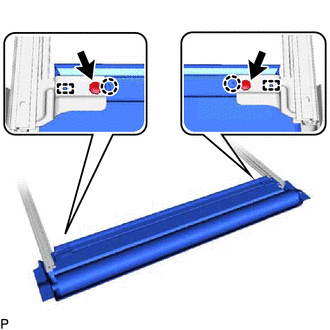
6. REMOVE SUNSHADE TRIM SUB-ASSEMBLY
(a) Slide the sunshade trim sub-assembly as shown in the illustration.
.png) | Slide |
Standard:
| Area | Dimension |
|---|---|
| a | 30 mm (1.18 in.) |
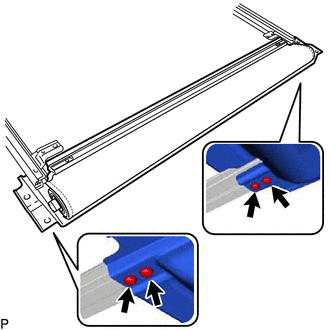
| (b) Using a T25 "TORX" socket wrench, remove the 2 screws. |
|
(c) Disengage the 2 claws and 2 guides.
| (d) Using a T25 "TORX" socket wrench, remove the 4 screws and sunshade trim sub-assembly. |
|
7. REMOVE NO. 2 SLIDE ROOF PANEL SUB-ASSEMBLY
(a) Remove the 4 nuts.
.png) | Nut |
.png) | "TORX" Screw |
(b) Using a T25 "TORX" socket wrench, remove the 2 screws and No. 2 slide roof panel sub-assembly.
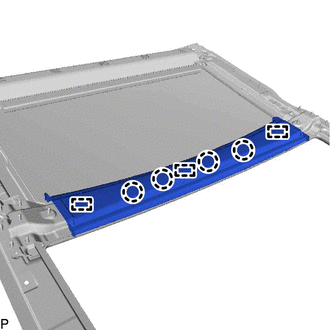
8. REMOVE NO. 1 SLIDE ROOF PANEL SUB-ASSEMBLY
(a) Using a T25 "TORX" socket wrench, remove the screw.
.png) | Double-sided Tape |
(b) Disengage the 6 clips and guide to remove the No. 1 slide roof panel sub-assembly.
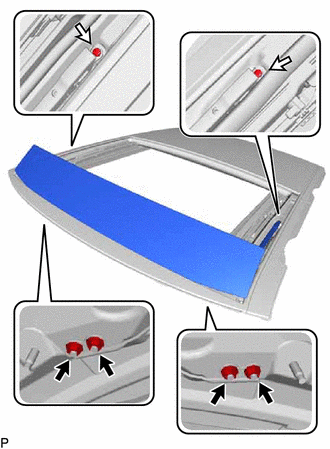
9. REMOVE NO. 1 SLIDING ROOF SIDE GARNISH LH
(a) Remove the 6 nuts.
| *A | Back Side | - | - |
| | Double-sided Tape | - | - |
(b) Disengage the clip and remove the No. 1 sliding roof side garnish LH.
10. REMOVE NO. 1 SLIDING ROOF SIDE GARNISH RH
HINT:
Use the same procedure as for the LH side.
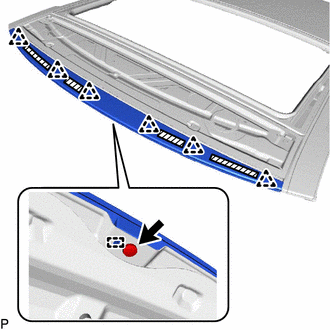
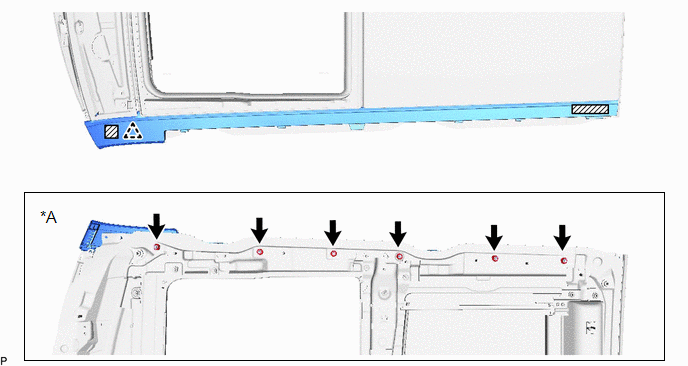
11. REMOVE REAR SLIDING ROOF GARNISH
| (a) Disengage the 4 claws and 3 guides to remove the rear sliding roof garnish from the sliding roof housing panel. |
|
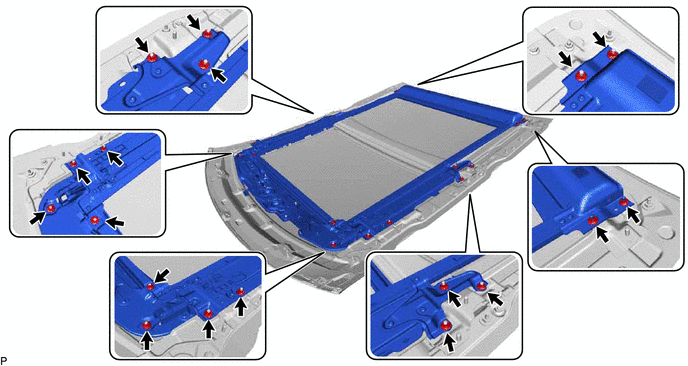
 Components
COMPONENTS ILLUSTRATION *1 NO. 2 SLIDING ROOF SIDE GARNISH LH *2 NO. 2 SLIDING ROOF SIDE GARNISH RH *3 NO. 3 SLIDING ROOF SIDE GARNISH LH *4 NO. 3 SLIDING ROOF SIDE GARNISH RH ...
 Installation
INSTALLATION PROCEDURE 1. INSTALL SLIDING ROOF HOUSING ASSEMBLY (a) Pass a string under the windshield outside moulding as shown in the illustration. *1 Windshield Outside Moulding - - * ...
Other materials:
Lexus RX (RX 350L, RX450h) 2016-2026 Repair Manual > Audio And Visual System (for 12.3 Inch Display): Sending Malfunction (Navigation to APGS) (U0073,U0100,U0129,U0140,U0155,U0164,U023B,U0265,U1110)
DESCRIPTION These DTCs are stored when a malfunction occurs in the CAN communication circuit. DTC No. Detection Item DTC Detection Condition Trouble Area U0073 Sending Malfunction (Navigation to APGS) CAN bus connection error CAN communication system U0100 Engine ECU Communi ...
Lexus RX (RX 350L, RX450h) 2016-2026 Repair Manual > Airbag System: Short in Knee Airbag (D Side) Squib Circuit (B1860-B1863)
DESCRIPTION The driver side knee airbag squib circuit consists of the airbag sensor assembly and lower No. 1 instrument panel airbag assembly. The airbag sensor assembly uses this circuit to deploy the airbag when deployment conditions are met. These DTCs are stored when a malfunction is detected in ...
Lexus RX (RX 350L, RX450h) 2016-{YEAR} Owners Manual
- For your information
- Pictorial index
- For safety and security
- Instrument cluster
- Operation of each component
- Driving
- Lexus Display Audio system
- Interior features
- Maintenance and care
- When trouble arises
- Vehicle specifications
- For owners
Lexus RX (RX 350L, RX450h) 2016-{YEAR} Repair Manual

0.0127